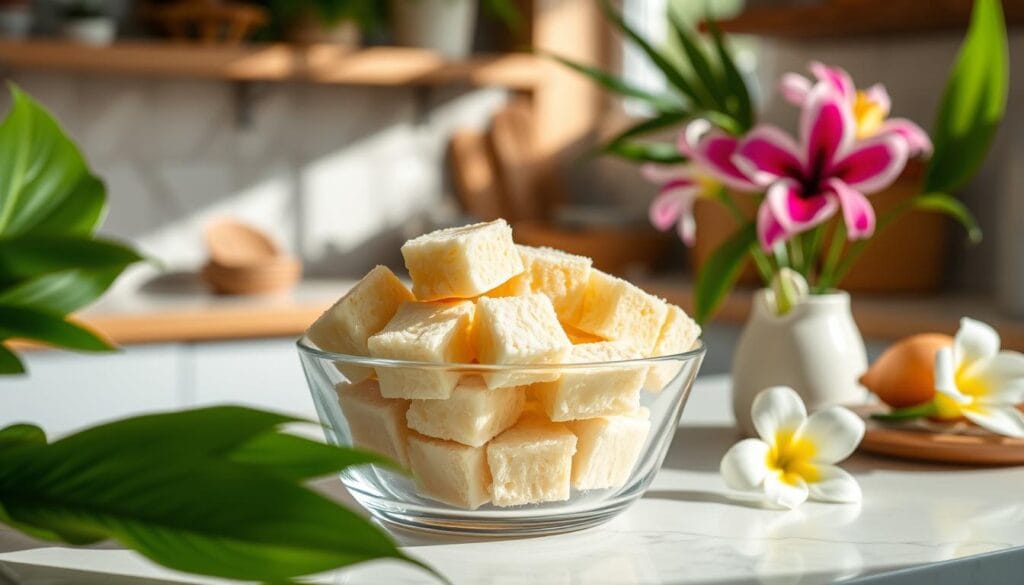
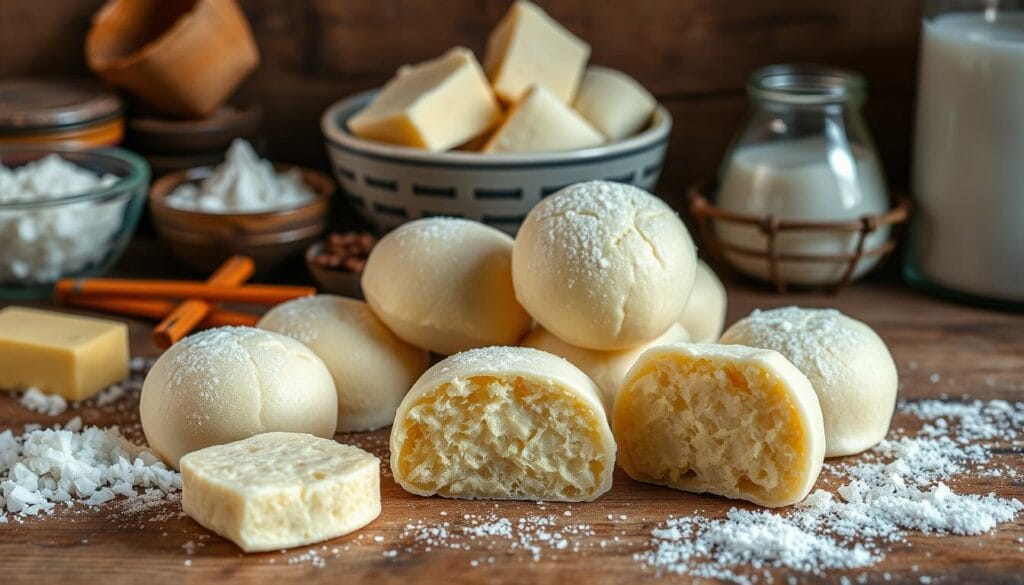
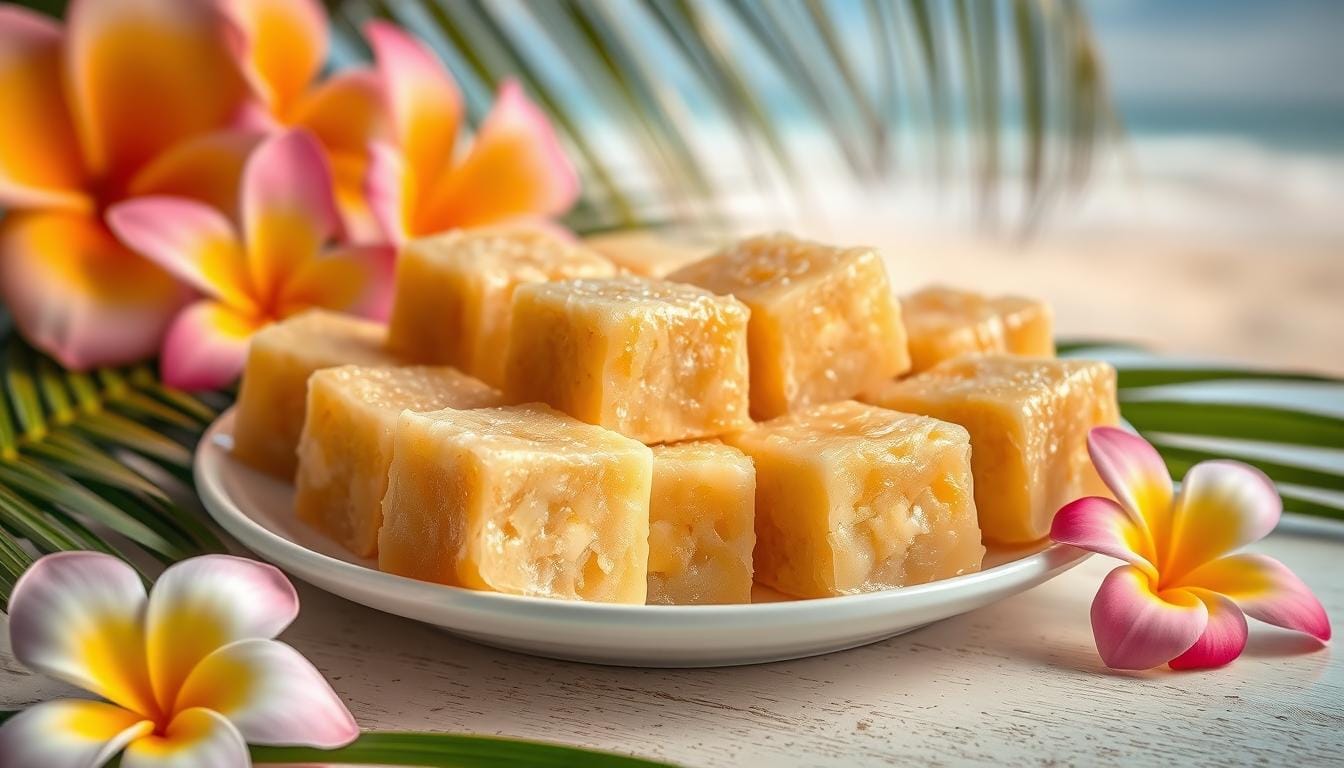
Growing up in Hawaii, the smell of butter mochi was always a treat. Its chewy texture and sweet butter taste brought back happy memories. Today, I’m excited to share this Butter Mochi Recipe with you.
Butter mochi is more than just a dessert; it’s a symbol of Hawaiian culture. It’s made with glutinous rice flour, butter, and a hint of sweetness. This treat showcases how Hawaii can create something unique from global influences.
Table of Contents
- Butter Mochi is a popular Hawaiian dessert with a chewy, buttery texture.
- The recipe uses simple ingredients like mochiko flour, butter, sugar, eggs, and milk.
- Butter Mochi is gluten-free and can be customized with various flavors and add-ins.
- Proper temperature control and mixing techniques are crucial for achieving the perfect mochi texture.
- Butter Mochi can be stored at room temperature or frozen for later enjoyment.
Understanding Hawaiian Butter Mochi
Butter mochi is a favorite Hawaiian dessert. It’s a mix of Japanese mochi and local island flavors. This sweet treat is loved by both locals and visitors.
The history of butter mochi is tied to cultural exchange between Japan and Hawaii. Traditional mochi recipes were changed to include Hawaiian flavors.
Origins and Cultural Significance
The exact start of butter mochi in Hawaii is unclear. Its history is mixed with cultural exchanges and limited records. It’s thought to come from a Southeast Asian dessert called bebinca.
Butter mochi is an integral part of Hawaiian culture, often sold at fundraisers and community gatherings. It comes in a variety of flavors, including coconut mochi and chocolate mochi.
What Makes Butter Mochi Special
Butter mochi is special because of its texture and taste. It’s chewy, like blondie edges, and soft in the middle. It tastes like butterscotch and caramel.
Mochiko flour is key to butter mochi’s texture. It’s made from sweet rice and gives the dessert its chewiness.
Traditional vs Modern Variations
Traditional butter mochi uses coconut and whole milk. Modern versions might use less fat or dairy substitutes. This has led to treats like mochi muffins and mochi donuts.
Butter mochi is also a gluten-free option for those with allergies. This has made it more appealing and accessible.
Essential Ingredients for Perfect Butter Mochi
Making the perfect butter mochi starts with the right ingredients. This Hawaiian dessert is a mix of sweet and creamy parts. It creates a chewy treat that’s hard to resist. At its core is mochiko flour, a glutinous rice flour that makes butter mochi soft and pliable.
The recipe also needs coconut milk, eggs, butter, sugar, evaporated milk, baking powder, and vanilla extract. For the best taste, use Mochiko sweet rice flour from brands like Koda Farms. It’s gluten-free and safe from the top 8 allergens.
Some recipes suggest using fat-free coconut milk or evaporated milk instead of full-fat ones. But, the right mix of butter mochi ingredients is key to perfect texture and taste.
“The key to exceptional butter mochi lies in the careful selection and proportion of the ingredients. Each component plays a vital role in creating the beloved Hawaiian delight.”
With the right ingredients, you’re ready to bake delicious, authentic butter mochi. It will take you straight to Hawaii’s island paradise.
Kitchen Tools and Equipment Needed
To make the perfect Hawaiian-style butter mochi, you need some key baking tools. Start with a 9×13 inch glass baking pan. It’s big enough for the recipe’s generous portions. You’ll also need measuring cups and spoons for the right amounts of ingredients.
Mixing bowls are essential for combining the wet and dry ingredients. A sturdy spatula is a must for mixing and spreading the batter evenly in the pan.
Required Baking Supplies
- 9×13 inch glass baking pan
- Measuring cups and spoons
- Mixing bowls
- Spatula
Optional Accessories
An electric mixer is not required but can be very helpful. It makes mixing the butter and sugar easier. This tool helps you get a smooth, creamy batter with less effort.
Preparation Setup
Before baking, set up your workspace. Preheat your oven to 350°F (175°C). Grease the 9×13 inch baking pan with non-stick cooking spray or melted butter. You can also line the pan with parchment paper to make it easier to remove the baked goods.
With your tools and equipment ready, you’re set to make delicious, chewy butter mochi.
Butter Mochi Recipe: Step-by-Step Instructions
Are you ready for a sweet Hawaiian adventure with butter mochi? This recipe combines chewy glutinous rice, creamy coconut, and rich butter. Follow these steps to make a delicious batch of butter mochi.
- Preheat your oven to 350°F (176°C or 157°C fan).
- In a large mixing bowl, melt 5 tablespoons of butter. Whisk in 3/4 cup of brown sugar until well combined.
- Beat 2 eggs at room temperature and add them to the butter-sugar mixture, stirring until smooth.
- Stir in 1/2 cup of whole milk and 1/2 teaspoon of vanilla extract, blending until the batter is lump-free.
- In a separate bowl, combine 2 cups of sweet rice flour or Thai glutinous rice flour with 1 teaspoon of baking powder.
- Gradually add the dry ingredients to the wet mixture, mixing until smooth.
- Grease a 9×13 inch baking pan and pour the butter mochi batter into it, spreading it evenly.
- Bake the butter mochi for 55-60 minutes, or until the top is golden brown.
- Allow the butter mochi to cool completely at room temperature before cutting it into squares.
This butter mochi recipe makes about 16 pieces, great for sharing. Enjoy the chewy, sweet, and indulgent texture of this Hawaiian delight!
The secret to perfect butter mochi is in the mixing, temperature, and baking time. Follow these steps to make a homemade butter mochi that will delight your taste buds.
The Secret to Achieving the Perfect Chewy Texture
Unlocking the secret to the perfect chewy mochi texture is key to making Hawaiian butter mochi. The right flour and careful mixing are crucial. By controlling temperature and blending, you can make butter mochi that’s chewy and delicious.
Temperature Control Tips
Getting the baking temperature right is essential for butter mochi. Preheat your oven to 350°F (175°C) and bake for an hour. This ensures the outside is golden brown and the inside stays chewy.
Don’t open the oven door too often. This can mess up the baking and make the mochi cook unevenly.
Mixing Techniques
Mixing the ingredients the right way is important for butter mochi’s texture. Use glutinous rice flour for its chewy texture. Mix the ingredients gently, avoiding overmixing.
Overmixing can make the mochi tough and rubbery. So, mix just until everything is combined. Don’t check on the mochi while it’s baking. This can ruin its texture.
“The key to achieving the perfect chewy butter mochi is finding the right balance between temperature control and mixing methods. By mastering these aspects, you can guarantee that your homemade mochi will be a delightful Hawaiian delicacy.”
Storing and Serving Your Butter Mochi
Learning how to store and serve butter mochi is key after mastering its recipe. This sweet treat stays fresh for days, making it perfect for any occasion.
To keep your butter mochi fresh, store it at room temperature for 1-2 days. Place it in an airtight container to keep its chewy texture. For longer storage, refrigerate it in an airtight container for up to a week.
When serving, let the butter mochi come to room temperature. You can either let it sit for 30 minutes or quickly reheat it in the microwave. This ensures it’s soft, chewy, and full of flavor.
- Cut the butter mochi into 24 equal-sized squares for serving.
- Arrange the mochi on a platter or plate, ensuring they’re not touching each other.
- Serve the butter mochi at room temperature for the best texture and taste.
Butter mochi is best enjoyed within a few days of baking. So, invite your loved ones over and enjoy this sweet Hawaiian treat together.

Nutritional Information and Dietary Considerations
Butter mochi is a tasty treat with some dietary notes. It has about 260 calories, 3g of protein, 10g of fat, 39g of carbs, and 22g of sugar. It’s gluten-free because it uses rice flour. This makes it good for those who can’t eat gluten.
Caloric Content
Butter mochi is rich and should be eaten in moderation. Its calories can add up fast, especially if you eat more than one piece. To keep your butter mochi nutrition balanced, eat only one or two pieces at a time.
Dietary Modifications
- Try using reduced-fat coconut milk instead of regular milk for a healthier version.
- Lower the sugar in the recipe or use a sugar substitute to reduce sugar content.
- Use egg substitutes or plant-based binders to make a dairy-free butter mochi.
With these small changes, you can enjoy butter mochi’s great taste while watching your diet.
“Butter mochi is a delightful Hawaiian delicacy that can fit into a balanced diet. With some modifications, you can enhance its nutritional value and tailor it to accommodate different dietary preferences.”
Common Mistakes to Avoid
Preparing Hawaiian butter mochi is an enjoyable culinary experience. However, there are several mistakes to be mindful of. Follow these tips to ensure your mochi turns out chewy and delicious.
- Using the Wrong Rice Flour: Don’t swap regular rice flour for glutinous rice flour (mochiko). It changes the texture. Use the right flour for that chewy mochi feel.
- Insufficient Batter Mixing: Mix all ingredients well to avoid lumps. Skipping this step can make your mochi uneven and less tasty.
- Cutting Mochi Too Soon: Wait for the mochi to cool down completely before cutting. Cutting it while warm can make it fall apart.
When baking mochi, precision is key. Measure ingredients carefully, especially the liquids. Overbaking can make it dry and crumbly. So, watch the oven closely and take it out when it’s lightly golden.
Starting with room temperature ingredients is important for great results. With practice and these tips, you’ll make delicious, chewy butter mochi easily!

“The key to perfect butter mochi is all in the technique – from mixing the batter to cutting the cooled mochi. With a little attention to detail, you’ll be enjoying the sweet, gooey goodness in no time.”
Flavor Variations and Add-ins
Explore the endless flavors of butter mochi! There’s more than just coconut and vanilla. Get creative with different ingredients to make your own special mochi.
Popular Flavor Combinations
Some favorite mochi flavors are:
- Ube (Purple Yam) – Ube’s purple color and sweet taste make it a standout mochi flavor.
- Matcha (Green Tea) – Matcha’s earthy taste goes well with mochi’s chewy texture.
- Chocolate – Chocolate’s richness is a hit in mochi.
Seasonal Adaptations
Use seasonal fruits and spices to make your butter mochi special. Try pumpkin spice in fall or tropical fruits in summer. The choices are endless!
Be bold with add-ins like shredded coconut, sesame seeds, or nuts. They can change your mochi’s texture and taste. Experiment to find your new favorite mochi flavors and butter mochi variations.
Tips for Making Ahead and Freezing
Butter mochi is a delightful Hawaiian treat that can be made in advance and frozen for later enjoyment. Whether you’re planning a party or simply want to have a stash of these chewy delights on hand, follow these tips to ensure your freezing butter mochi and make-ahead mochi turn out perfectly every time.
- Bake the butter mochi according to the recipe and allow it to cool completely before cutting into squares or bars.
- Wrap each individual piece in plastic wrap or parchment paper to prevent them from sticking together.
- Place the wrapped mochi in an airtight container or freezer bag, removing as much air as possible to prevent freezer burn.
- Freeze the mochi for up to 3 months, ensuring they’re stored at a consistent temperature.
When you’re ready to enjoy your freezing butter mochi, simply thaw the pieces at room temperature for a few hours or overnight in the refrigerator. You can then reheat the mochi gently in the microwave or oven before serving, ensuring they retain their signature chewy texture and flavor.
“The best part about make-ahead mochi is that you can enjoy the taste of Hawaii whenever the craving strikes, without the hassle of baking from scratch each time.” – Chef Keahi Akina, Honolulu, Hawaii
By following these tips, you can savor the delightful flavors of Hawaiian butter mochi long after the initial baking is complete. Whether you’re sharing them with friends and family or indulging in a solo treat, these freezing butter mochi will surely become a cherished part of your culinary repertoire.
Serving Suggestions and Pairings
Butter Mochi is a versatile Hawaiian dessert. You can enjoy it as a sweet snack or pair it with drinks and flavors. For a classic choice, try a warm slice of Butter Mochi with green tea or coffee. The mochi’s chewy texture contrasts beautifully with the drinks’ warmth and aroma.
For a richer treat, top warm Butter Mochi with vanilla ice cream. The mix of warm mochi and cool ice cream is heavenly. Add a drizzle of sweetened condensed milk for an extra touch of sweetness.
Butter Mochi is great on a Hawaiian-themed dessert platter. Pair it with pineapple slices, tropical fruits, and other island sweets. This dessert will make your guests feel like they’re in Hawaii with every bite.

