The cool autumn breeze filled the kitchen with the smell of enchilada sauce. It brought back memories of family gatherings and the joy of sharing a meal. I wanted to recreate that feeling, but with a twist for busy weeknights.
The ultimate rotisserie chicken enchiladas are here. They turn a store-bought rotisserie chicken into a delicious meal in 5 easy steps. With pre-cooked chicken and pantry staples, you can make a tasty enchilada dish in under an hour. This recipe is sure to impress your family and friends with its flavor and ease.
Table of Contents
- Utilize store-bought rotisserie chicken to save time in the kitchen
- Assemble the enchiladas in just 10 minutes for a quick weeknight meal
- Bake the enchiladas for 20-25 minutes for a perfectly melted and bubbly dish
- Customize the filling and toppings to suit your family’s preferences
- Enjoy leftover enchiladas for up to 3 days, making it a great meal-prep option
Why Rotisserie Chicken Enchiladas Are Your New Weeknight Favorite
Looking for a tasty, family-friendly meal that’s quick? Rotisserie chicken enchiladas are your answer! This recipe uses a pre-cooked rotisserie chicken to make a delicious dish fast.
Benefits of Using Pre-Cooked Rotisserie Chicken
Rotisserie chicken is a big help for time-saving recipes. It’s already cooked and seasoned, saving you prep time. This makes it perfect for busy families who need a quick meal.
Time-Saving Kitchen Hacks
- Use store-bought enchilada sauce to cut down on prep time.
- Assemble the enchiladas ahead of time and refrigerate until ready to bake.
- Double the recipe and freeze an extra batch for a family-friendly meal on a busy night.
Perfect for Busy Families
This enchilada recipe is quick to make, thanks to rotisserie chicken. Add your favorite toppings and sides for a satisfying and delicious meal everyone will enjoy.
“This recipe is a real time-saver and the perfect solution for busy weeknights. The rotisserie chicken makes it so easy to put together, and the end result is always a hit with my family.”
Essential Ingredients for Perfect Enchiladas
Making delicious enchiladas is all about the right mix of flavors. The key ingredients are rotisserie chicken, enchilada sauce, and more. Whether you’re a pro or a beginner, the secret to amazing enchiladas is in the ingredients.
The base of great enchiladas is tender, shredded rotisserie chicken. It saves time and adds a rich flavor. Paired with enchilada sauce, the chicken becomes the main attraction.
You’ll also need diced tomatoes, green chilies, and lots of shredded cheddar cheese. These add a mix of textures and tastes. The tomatoes are juicy, the cheese melts well, and the green chilies add spice.
Don’t forget fresh flour tortilla wraps. They wrap the filling and soak up the sauce, making each bite perfect.
With these ingredients, you’re set to make enchiladas that will wow your taste buds. Feel free to try different sauces or toppings to make it your own.
| Ingredient | Quantity |
|---|---|
| Rotisserie Chicken, shredded | 4 cups |
| Enchilada Sauce | 8 oz can + 1 1/2 cans |
| Diced Tomatoes and Green Chilies | 1 (10 oz) can |
| Shredded Cheddar Cheese | 2 cups |
| Flour Tortilla Wraps | 10-12 (5-6 per serving) |
| Sour Cream (for serving) | 1 cup |
| Cilantro (for garnish) | 1/4 cup, chopped |
With these ingredients, you’re ready to make enchiladas that will please your taste buds and satisfy your Mexican food cravings.
Kitchen Tools and Equipment Needed
To make perfect rotisserie chicken enchiladas, you need some key tools and dishes. Let’s look at the must-haves for easy enchilada making.
Essential Baking Dishes
A 9×13 inch baking dish is the base for your enchiladas. It’s the right size for the tortillas, chicken, and sauce. Also, a big mixing bowl is useful for shredding the chicken and mixing the filling.
Helpful Utensils and Gadgets
- A hand mixer or fork for shredding the cooked rotisserie chicken quickly and efficiently
- A skillet or griddle for warming the tortillas and sautéing any additional fillings, such as onions or peppers
- Tongs or a spatula for assembling and transferring the filled enchiladas to the baking dish
- Aluminum foil to cover the dish during baking, ensuring the enchiladas stay moist and tender
With these tools and dishes, you’re ready to make tasty rotisserie chicken enchiladas at home.
| Item | Purpose |
|---|---|
| 9×13 inch baking dish | Accommodates the rolled enchiladas and allows for even baking |
| Large mixing bowl | Shreds the rotisserie chicken and mixes the filling ingredients |
| Hand mixer or fork | Effortlessly shreds the cooked chicken |
| Skillet or griddle | Warms the tortillas and sautés any additional fillings |
| Tongs or spatula | Helps with assembling and transferring the filled enchiladas |
| Aluminum foil | Covers the dish during baking to retain moisture and tenderness |
How to Prepare the Chicken Filling
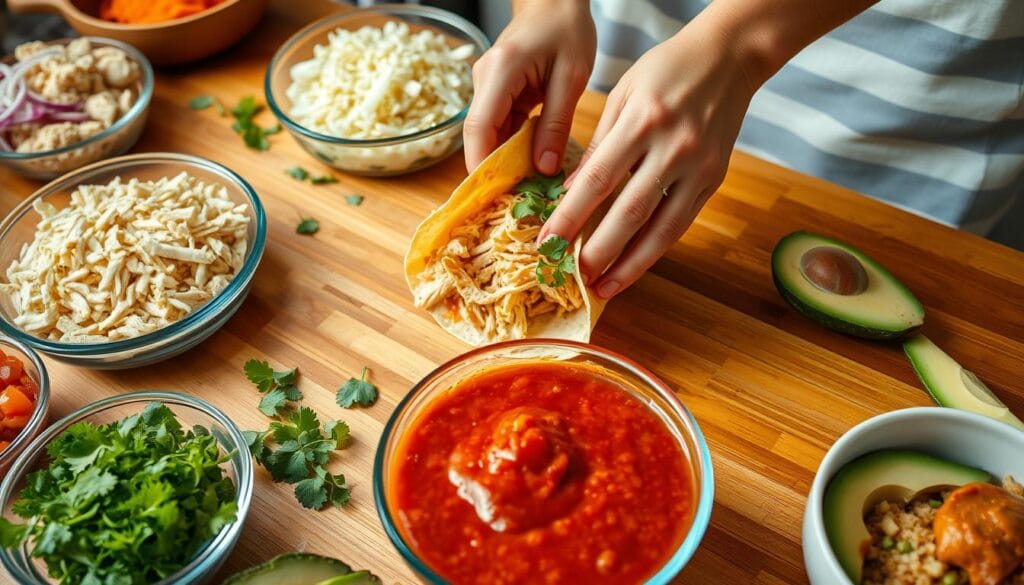
Starting with a tender rotisserie chicken makes preparing the filling easy. Remove the meat and shred it in a large bowl with a hand mixer. This way, you get perfectly shredded chicken for your enchiladas.
Then, mix the shredded chicken with enchilada sauce, canned tomatoes, green chilies, and Mexican cheese blend. This mix creates a moist, flavorful filling that will make your enchiladas shine.
| Ingredient | Quantity |
|---|---|
| Shredded rotisserie chicken | 2 cups |
| Green chile enchilada sauce or salsa verde | 2 cups (16 ounces) |
| Drained canned diced tomatoes and green chilies | 1 (10-ounce) can |
| Shredded cheddar, Monterey Jack, Oaxaca, or Mexican cheese blend | 1 cup |
With your shredded chicken filling ready, you can start assembling the enchiladas. This simple yet flavorful filling is the key to making the best rotisserie chicken enchiladas.
Making the Perfect Enchilada Sauce
The sauce is the main attraction in enchiladas. You can make your own sauce for a better taste. Choose from red or green chile sauce, but make sure it’s not too thick.
Store-Bought vs. Homemade Options
Canned enchilada sauce is quick and easy. Brands like Hatch and Las Palmas are good choices. But, homemade sauce can make your dish even better. Roasting and pureeing green chiles makes a fresh, vibrant sauce.
Sauce Consistency Tips
- Look for a sauce that coats the enchiladas well but isn’t too runny.
- If it’s too thick, add chicken broth or water to thin it out.
- For a too-thin sauce, simmer it to thicken it up.
- The best sauce is smooth and clings to the tortillas without making them soggy.
Step-by-Step Assembly Instructions
Making delicious enchiladas is easy with a rotisserie chicken. The secret to great enchiladas is in a few simple steps. Let’s explore how to assemble and roll them for a dish your family will love.
- Preheat your oven to 350°F (175°C).
- Coat the bottom of a 9×13 inch baking dish with enchilada sauce. This keeps your enchiladas moist and tasty.
- Dip each corn tortilla in the sauce, coating both sides. This helps the tortillas stick together and prevents them from cracking.
- Put a lot of shredded rotisserie chicken filling in the center of a tortilla. Roll it tightly, with the seam down, and place it in the dish.
- Keep filling and rolling until the dish is full. Arrange the enchiladas side by side.
- Pour the remaining enchilada sauce over the top for even coverage.
- Finally, sprinkle shredded cheese over the enchiladas, covering them completely.
By following these steps, you’ll make enchiladas that look great and taste amazing. The secret is in the rolling technique. Roll gently but firmly for perfect enchiladas every time.

| Prep Time | Cook Time | Total Time | Servings |
|---|---|---|---|
| 5 minutes | 1 hour 10 minutes | 1 hour 15 minutes | 12 enchiladas |
“The secret to perfect enchiladas is all in the rolling technique. Dip, fill, and roll with care, and your family will be delighted with the results.”
Best Cheese Combinations and Melting Techniques
Creating the perfect cheesy enchiladas is all about the cheese and how you layer it. Shredded cheddar is a favorite, but mixing it with Monterey Jack or mozzarella can make it even better.
Recommended Cheese Varieties
For the best taste and melt, try a mix of cheeses like:
- Cheddar
- Monterey Jack
- Pepper Jack
- Mozzarella
- Manchego
This mix of cheeses will give you a cheesy topping that’s perfect with the rotisserie chicken and enchilada sauce.
Layering Methods for Maximum Flavor
To get the best melting cheese effect, layer cheese inside and on top of the enchiladas. This way, the cheese for enchiladas is spread out evenly, making every bite full of flavor.
| Cheese Layering Technique | Benefits |
|---|---|
| Shredded cheese inside the rolled enchiladas | Provides a creamy, cheesy center |
| Additional shredded cheese on top of the enchiladas | Creates a delectable, melted cheese topping |
By layering the cheese carefully, you’ll get the perfect mix of cheesy toppings and melting cheese. This makes your enchiladas a comforting and satisfying dish.
Baking Tips and Temperature Guidelines
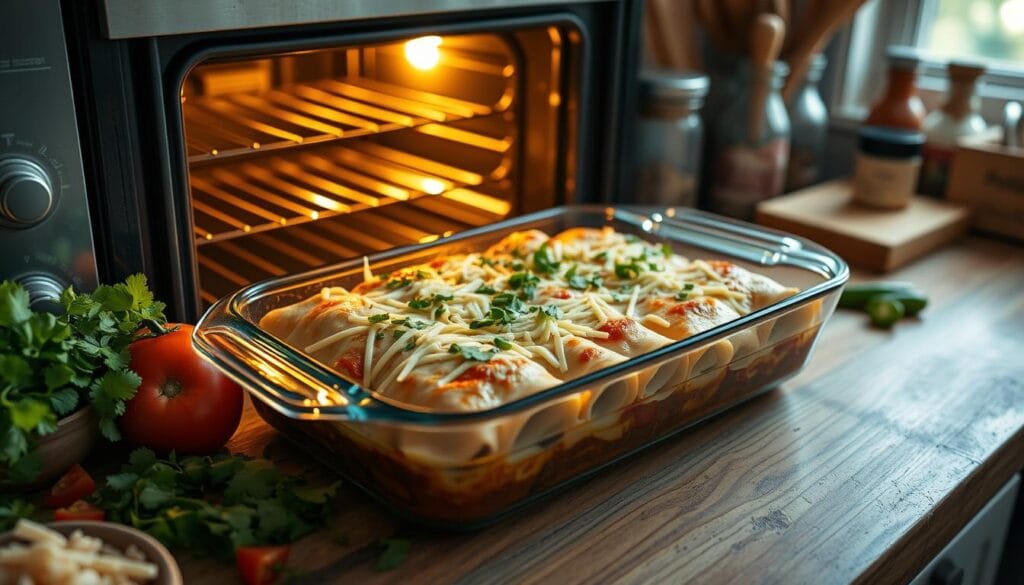
Getting the temperature right is key when baking rotisserie chicken enchiladas. Preheat your oven to 350°F (175°C) for the best results. This temperature ensures the enchiladas heat evenly and the cheese melts perfectly.
To bake the enchiladas, cover the dish with foil and bake for 20-25 minutes. Remove the foil for the last 5 minutes to get that golden-brown cheese. This way, your enchiladas will be hot and the cheese will be melted all over.
After baking, let the enchiladas rest for 5-15 minutes before serving. This step helps them set, so they don’t fall apart when you slice them. It’s a simple trick that makes a big difference in the taste and texture.
By following these tips, you’ll make baking enchiladas that are both delicious and beautiful. You’ll impress your family and friends with your enchilada creations!

“The key to perfect enchiladas? It’s all about the oven temperature and baking time.”
The oven temperature for enchiladas is crucial for heating them through and melting the cheese. By sticking to these guidelines, you’ll soon be making enchiladas that are truly perfect.
Garnishes and Serving Suggestions
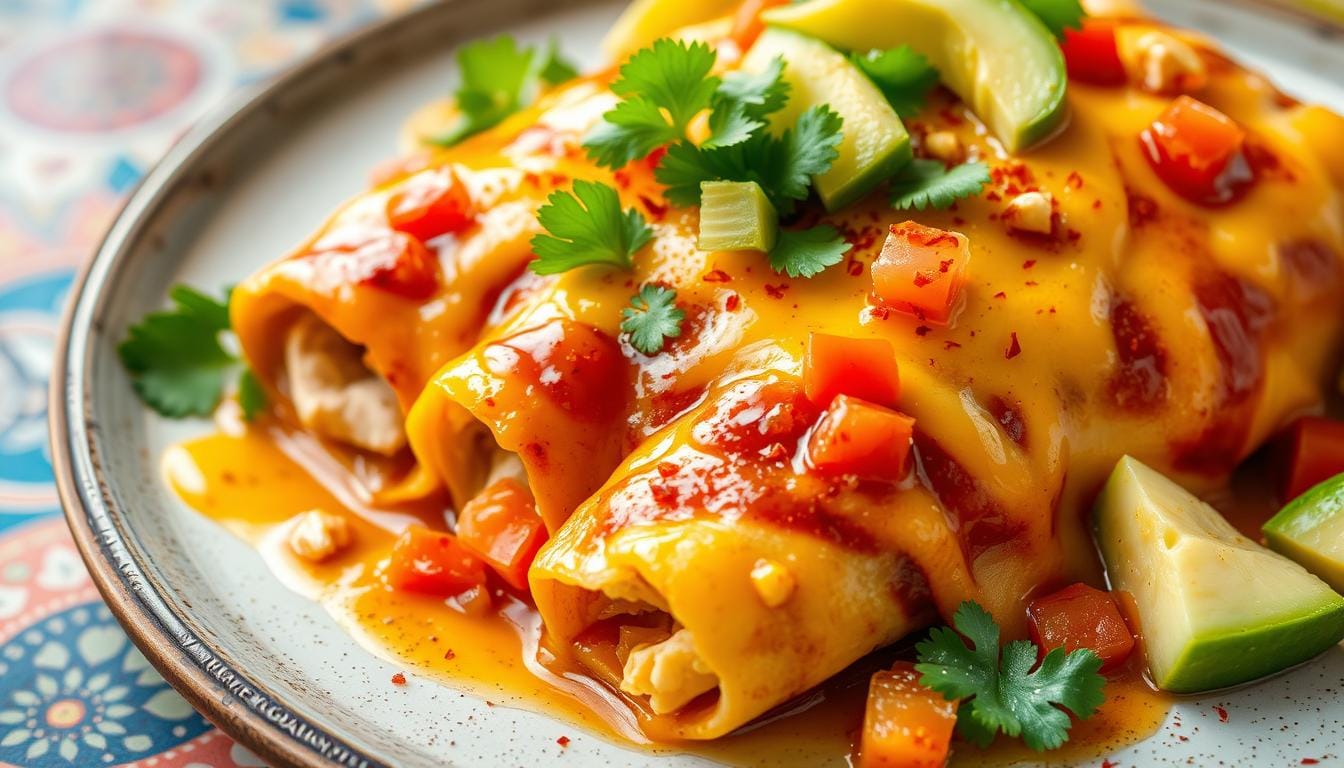
Make your rotisserie chicken enchiladas even better with colorful garnishes and sides. Top them with sour cream, cilantro, and tomatoes for a burst of taste and color. Add avocado, salsa, pico de gallo, or guacamole for more flavor. Sprinkle green onions or jalapeños for a spicy kick.
For a full Mexican side dishes experience, serve with Mexican rice or cauliflower rice. A corn and tomato salad or a Mexican-style salad adds a fresh touch. There are countless ways to enhance your enchilada feast with enchilada toppings and sides.
| Topping Suggestions | Side Dish Ideas |
|---|---|
|
|
“The key to a truly satisfying enchilada experience is in the toppings and accompaniments. Don’t be afraid to get creative and experiment with different flavor combinations.”
Storage and Reheating Instructions
Keep the leftover enchiladas fresh and tasty. Store them in an airtight container in the fridge for 3-4 days. To reheat, microwave them for 1-2 minutes until warm.
For the best taste, reheat in the oven. Set your oven to 350°F (175°C). Place the enchiladas in a covered dish and bake for 15-20 minutes. This way, the tortillas stay crispy.
Freeze any extra enchiladas for later use. Store them tightly in the freezer for up to 2 months. To reheat, thaw and bake at 300°F (150°C) for 45 minutes, then 10 minutes uncovered to melt the cheese.

